 pagekernel
PK / CAMERA WALL · 2.3.9
Complete user manual
24 chapter · Windows 11 x64
What’s new in version 2.3.9 ↗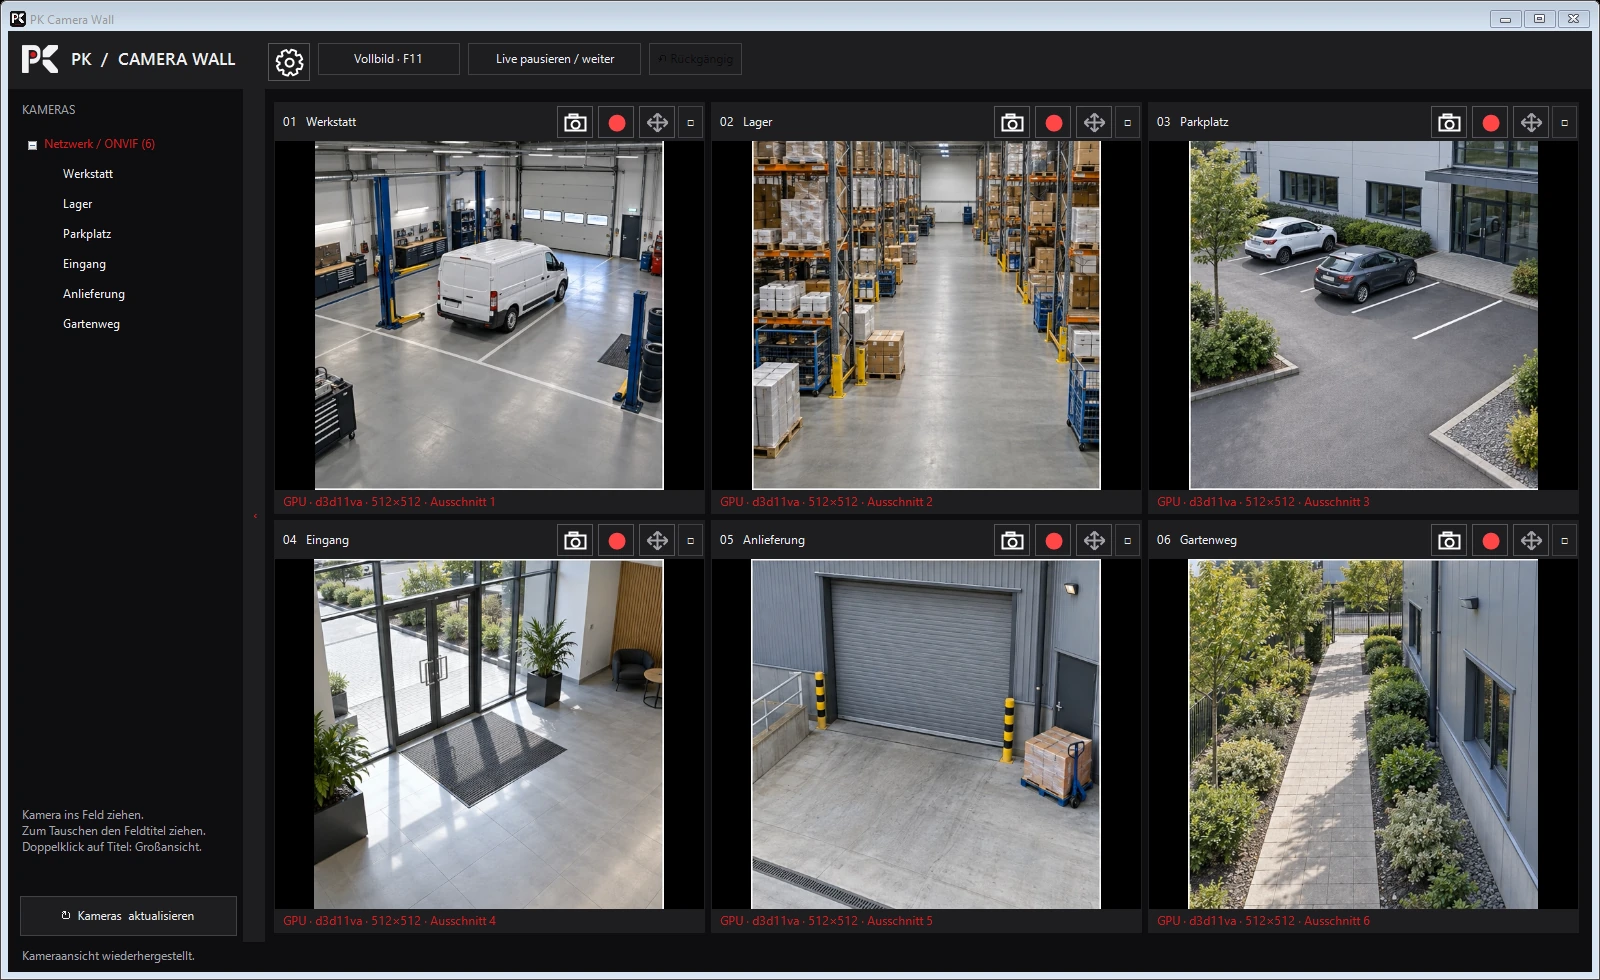
First picture in five steps
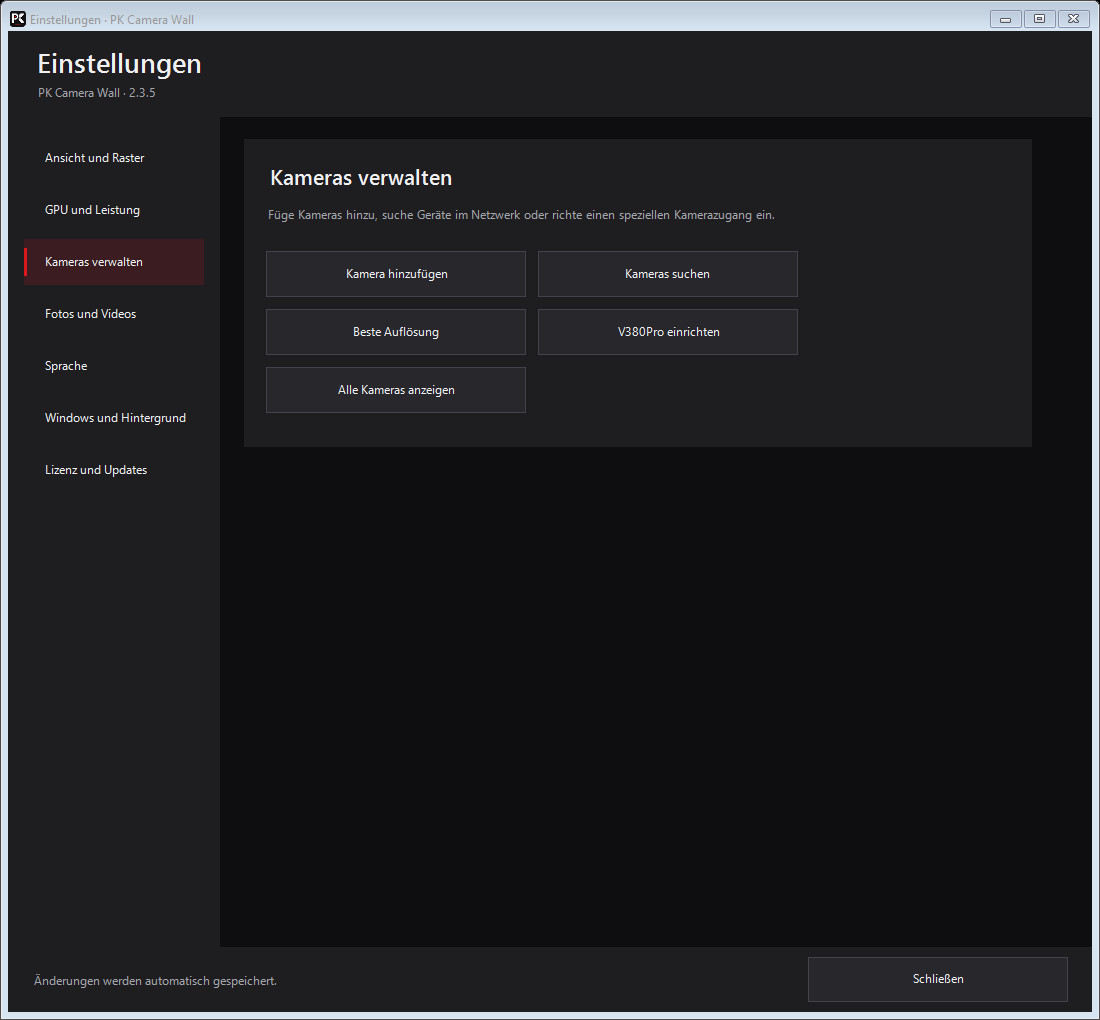
Install the Windows 11 x64 app, open camera management, discover or add a camera, test its stream, save it and drag it into a free tile. Choose a media folder and test a photo and a short recording.
↑
Interface and symbols
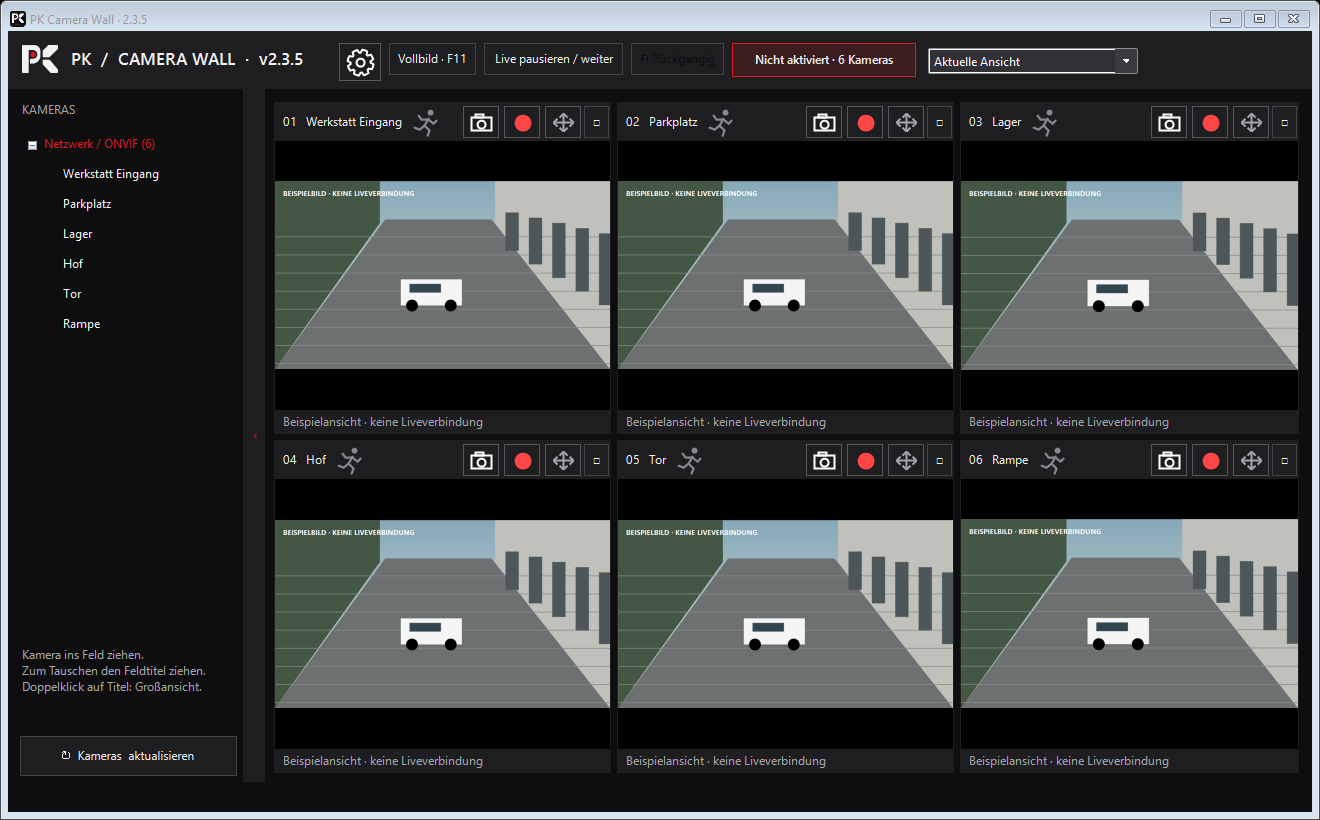
The top bar contains version, settings, full screen, live pause, undo and saved views. Each camera tile provides photo, recording, PTZ and motion controls; hover or right-click for the exact action.
↑
Add, name and test cameras
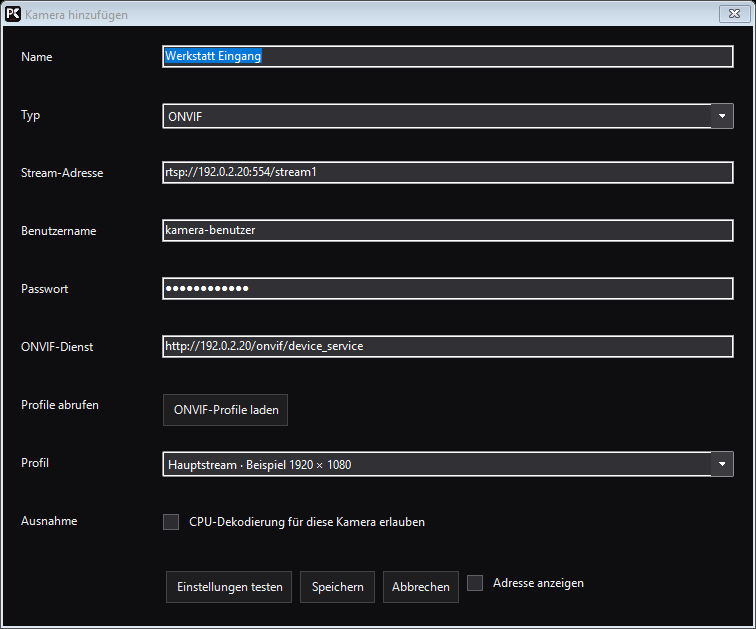
Search for devices or add a known stream, assign a clear name and enter only the camera’s own local access details. Load an ONVIF profile where available and test the preview before saving.
↑
Multiple lenses: V380Pro and subviews
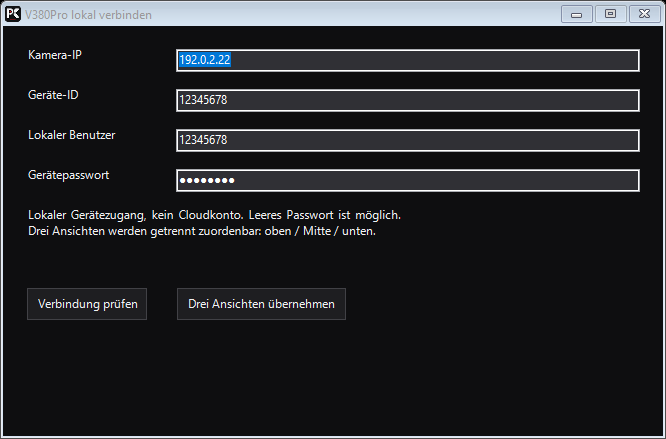
Supported V380Pro devices can expose a combined image and separate digital subviews. The subviews may be arranged and rotated independently, while recording can still use the complete source image.
↑
Grid, drag-and-drop and saved views
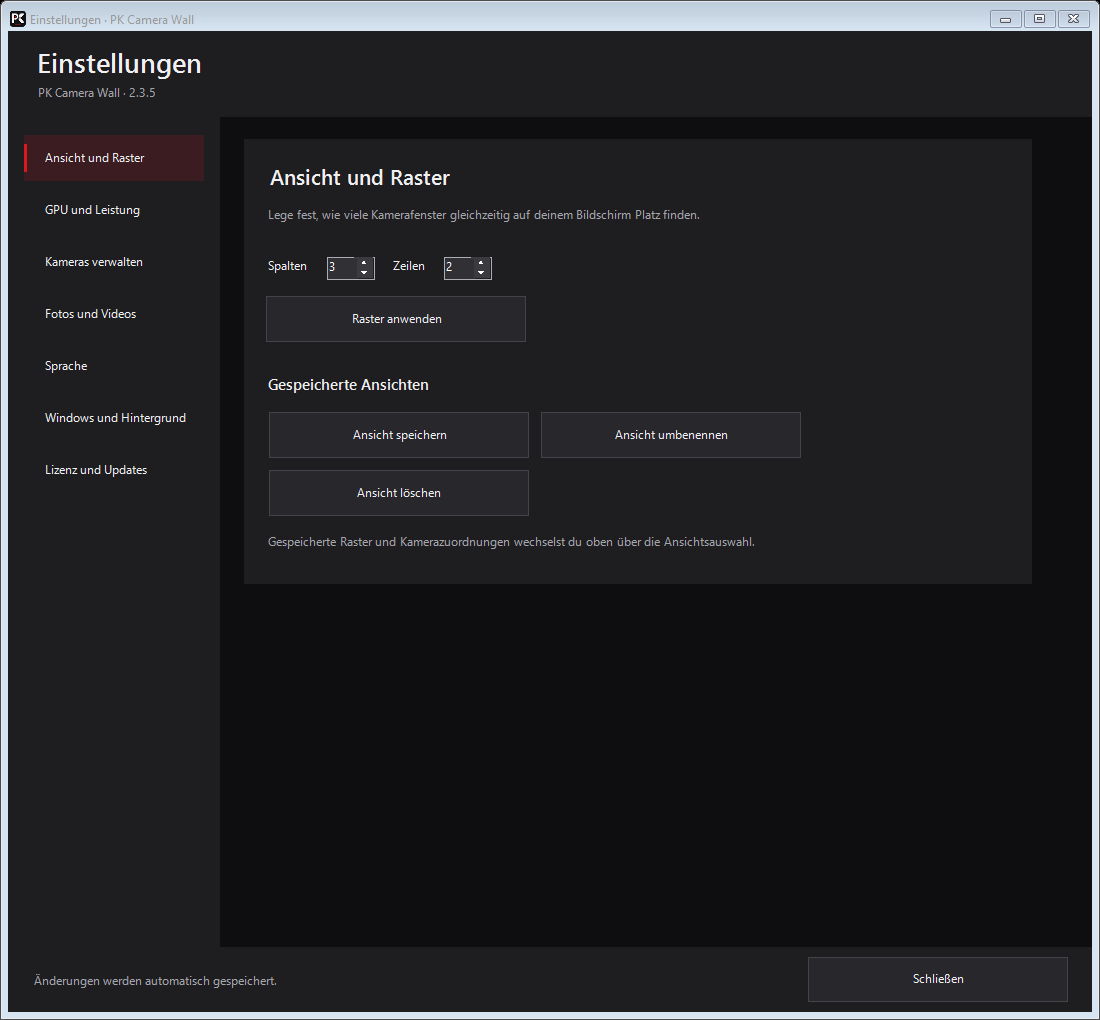
Choose columns and rows, apply the grid and drag cameras into tiles. Drag a camera title to swap tiles; save useful arrangements as named views. Deleting a view does not delete cameras or media.
↑
Detach a camera and keep its position
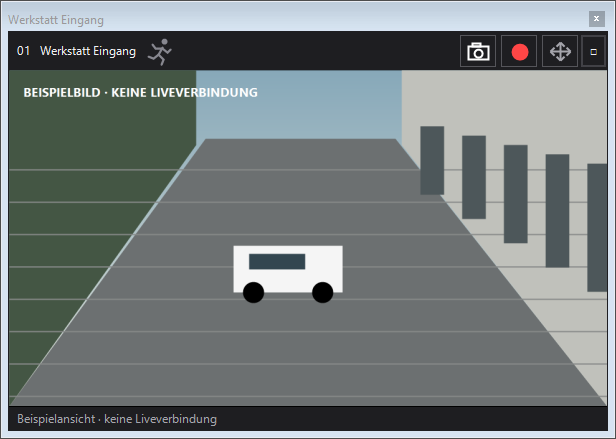
Detach a camera into its own window, move it to the required monitor and optionally keep it on top. Position, size, screen and full-screen state are restored after a normal restart.
↑
Single view, full screen and rotation
Double-click a video for full screen and use Escape to leave it. Rotate the digital view by 90°, 180° or back to the original; this does not mechanically move the camera.
↑GPU, resolution, work mode and live buffer
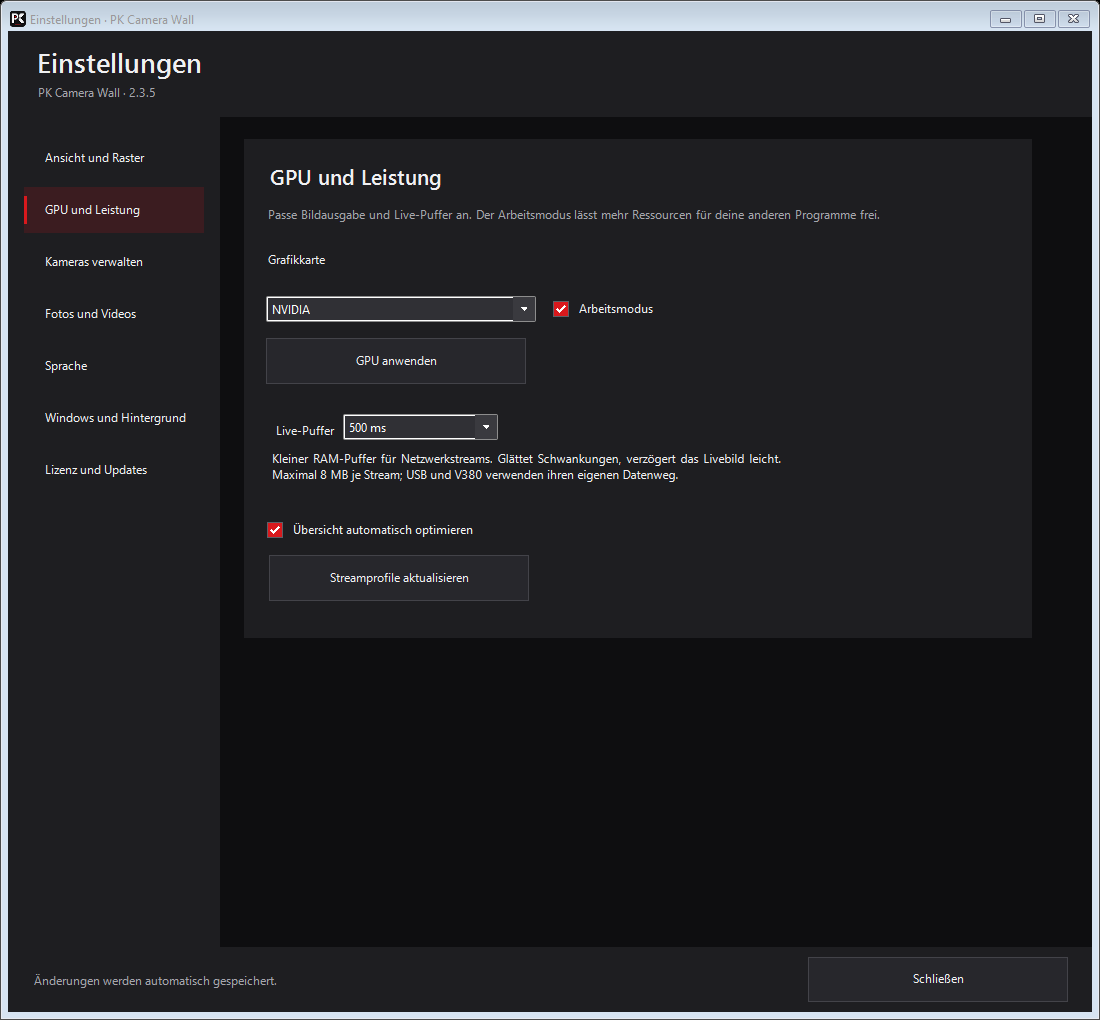
Select automatic, NVIDIA, Intel or AMD decoding where supported. Automatic quality can use a suitable stream for the tile size; the optional live buffer smooths short network variations but adds delay.
↑
Take photos
Use the camera icon or the context menu to save a PNG. The app uses the selected view, rotation and camera-specific or shared media folder; the status message confirms the saved file.
↑Record video manually
Start and stop recording with the red button and watch duration, file size and free space. Stop cleanly before changing views. Recordings contain no audio and available encoding depends on source and hardware.
↑Shared and camera-specific media folders
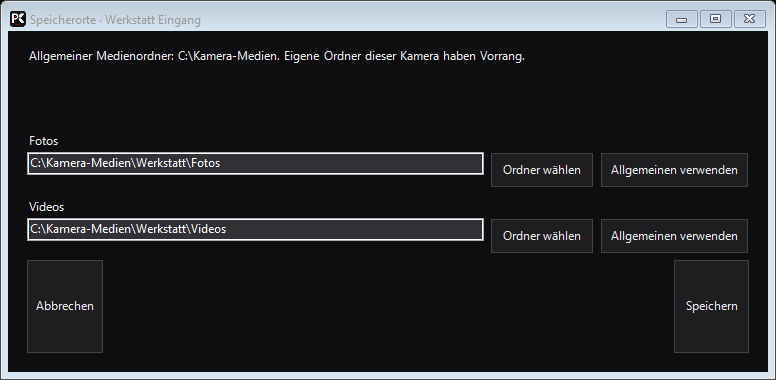
Set a common folder under Photos and videos, or override photo and video folders for an individual camera. The media overview opens saved items; optional cleanup is off until explicitly configured.
↑
Configure motion detection
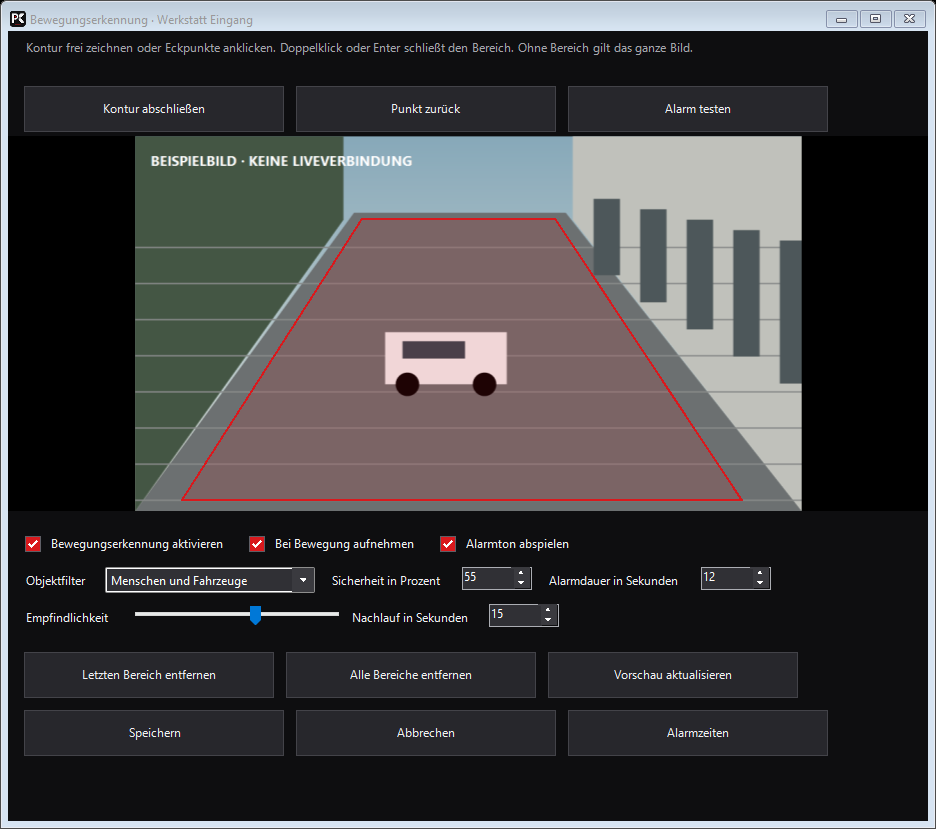
Open Motion detection from the camera menu, draw a zone, enable detection and choose recording and/or alarm sound. Set sensitivity, filters and schedules, then save the dialog.
↑
Free alarm zones and the red area
The finished red polygon is the active detection area. Motion outside it is ignored by this detector; without a saved zone the complete image is evaluated. Test the result in the real scene.
↑People, vehicles and sensitivity
Choose the object types and sensitivity that match the scene. Filters reduce unwanted events but are not a safety guarantee; distance, lighting, perspective and image quality affect detection.
↑Alarm sound, duration and test
Enable alarm sound, select the output and duration, then use the sound test. The test checks audio only; it does not prove that the zone, object filter or schedule will trigger.
↑Record on motion and post-run time
Enable motion recording separately and define how long recording continues after the last detected movement. New motion extends the post-run period; manually started recordings remain independent.
↑Separate alarm and recording schedules
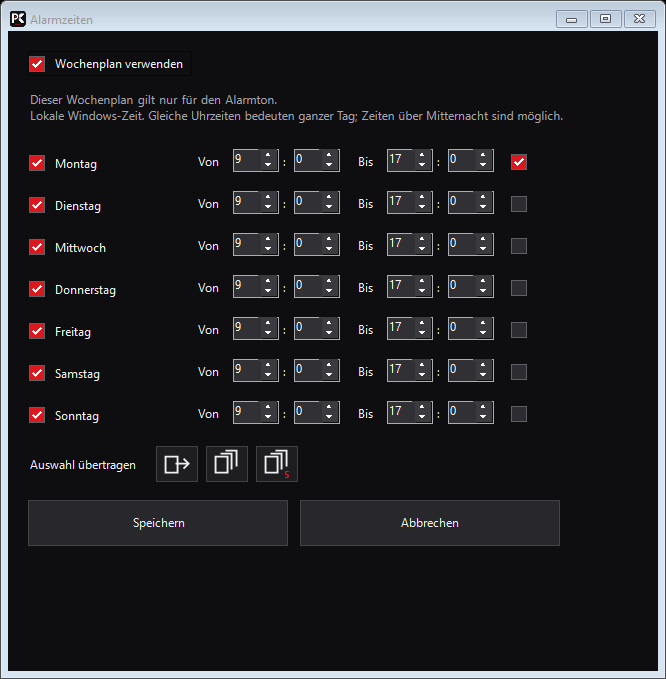
Version 2.3.9 provides one weekly plan for sound and one for motion recording. Overnight ranges cross midnight, equal start and end mean all day, and copy actions transfer time plus enabled state.
↑
PTZ joystick, fine control and positions
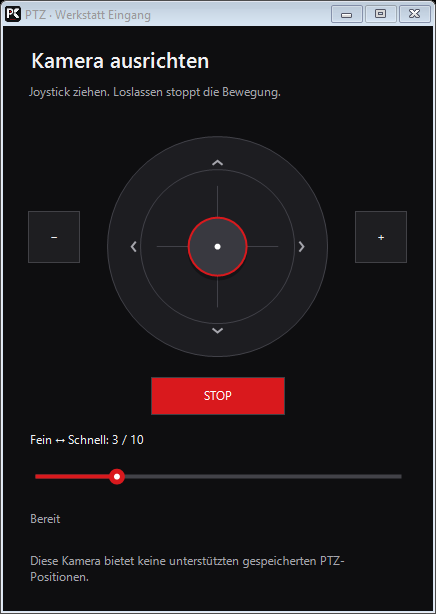
On supported cameras, drag the joystick to pan or tilt and release it to stop. Adjust speed, use zoom where available and store or recall positions only when the camera exposes that capability.
↑
Start with Windows or record as a service
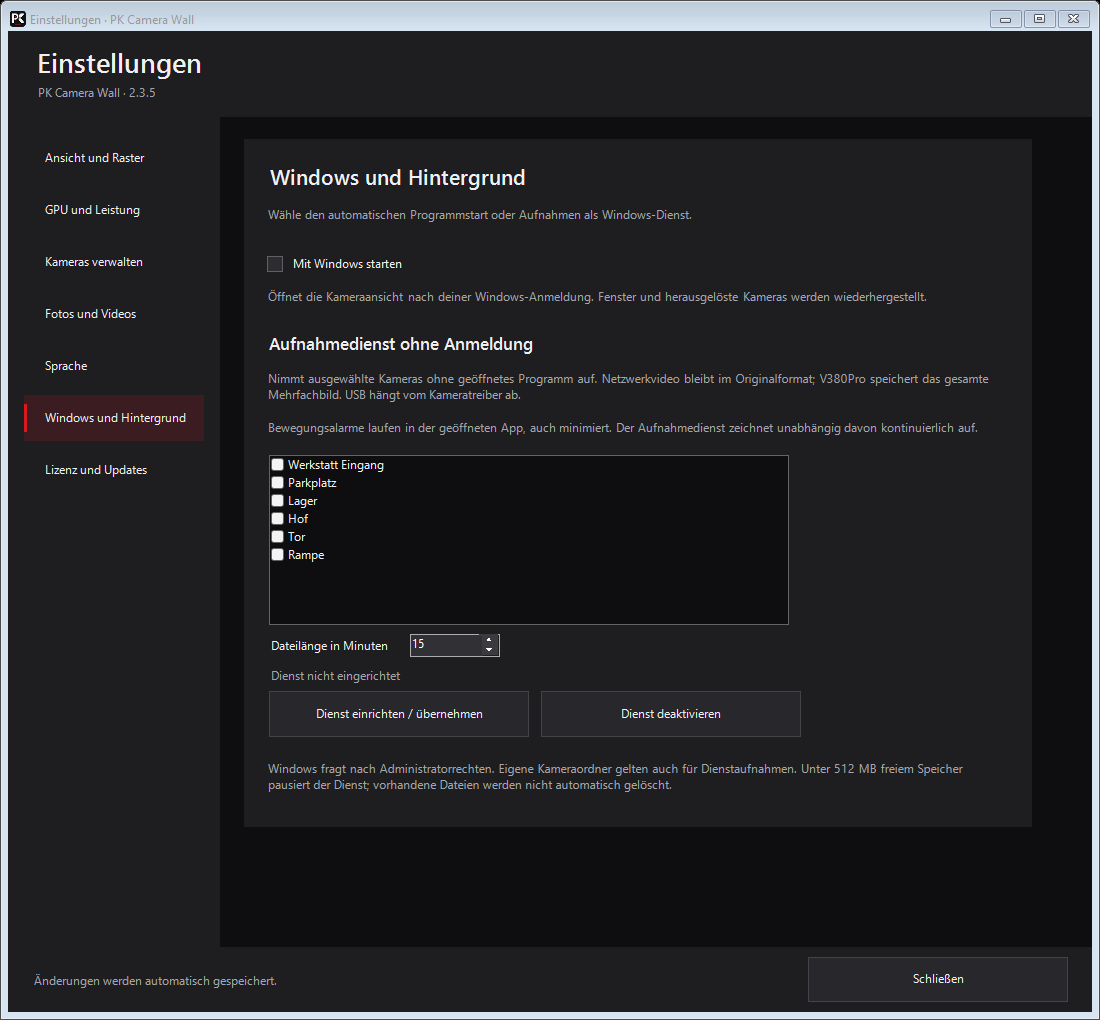
Start with Windows opens the visible app after sign-in. The optional recording service records selected cameras without sign-in but has no visible wall, motion analysis or audible alarms.
↑
Minimise, live pause and connection issues
Minimising keeps connections open; live pause intentionally stops playback. Read the status under each image and reconnect only the affected camera. Persistent image stripes remain an open issue.
↑Clear a tile, remove a camera and undo
Clearing a tile removes only its placement; removing from the camera list removes the camera entry. Confirm destructive actions carefully and use Undo or Ctrl+Z for supported recent removals.
↑Version, demo, activation and device change
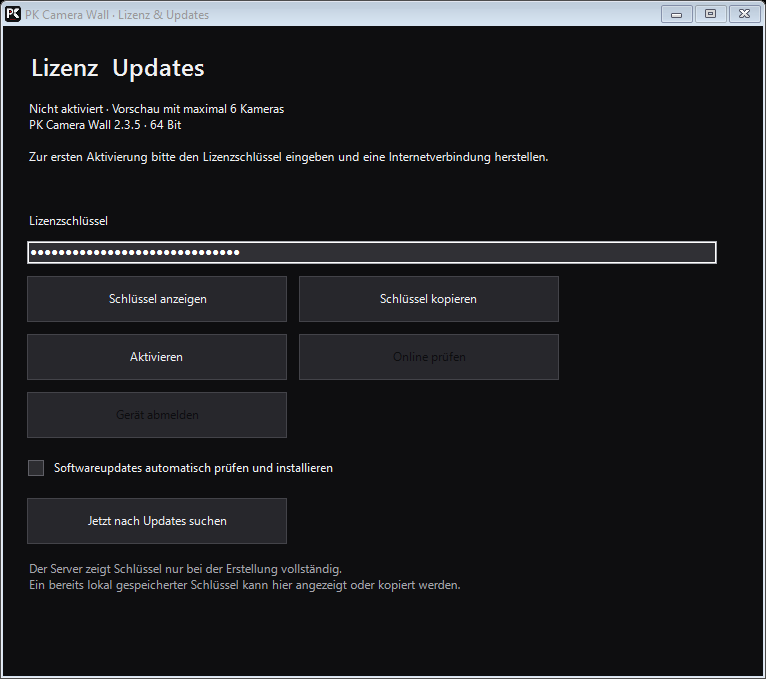
The demo shows up to six cameras. Enter and activate a valid licence online, use Online check when needed, and sign out the old device before moving an available installation seat.
↑
Updates, local data and language
Update checks verify the package before installation and preserve camera settings, media paths and window layout. The interface supports German, Italian, English, Slovenian, Polish, Ukrainian, Spanish and French.
↑Quick help for common questions
If alarms or recordings do not start, check the feature switch, schedule, finished red zone, object filter, folder permissions and free space. Never send camera passwords or complete credential-bearing stream URLs to support.
↑